
Deploy your first web application with Flask and Heroku
- Renaud Viot

- Jan 6, 2020
- 2 min read
Updated: Jan 10, 2020
A significant portion of our job is building web applications for various our clients. These web applications are client–server computer programs that run within a web browser. They are used every day, whether it be to host micro services, fetch data on a recurrent frequency, or on request. However robust their functionality, it’s important to remember that building a web application is only one aspect of the overall process. In this post, we will go over a simple web application process from the first step of formalizing the idea to the deployment of your first web application.
Prerequisites
This web application project will use the following tools:
- Python (version: Python 3.7.2 [MSC v.1916 64 bit (AMD64)] on win32)
- GitHub (free tier version)
- Heroku (free tier version)
For the purposes of this informative post, we are assuming that you have already successfully installed python on your machine, have accounts with both GitHub and Heroku, and have a basic working knowledge of the trio of tools listed above.
Formalizing the Idea

The most critical step in web application development is the formalization of the idea. In our consulting experience, our clients often have a very good idea of their objectives, but lack the bandwidth and/or the expertise to formalize it in a technical way. In order to help remedy this, we’ll be using a plausible situation to guide the project. We’re going to assume that the web application to be build needs to show important dates, such as a wedding anniversary or a partner’s birthday.
Now that we have a simple idea to guide us, what’s the best way to achieve the expected result?
Initially, we’ll need to agree on a set of tools we’ll use to make it happen. We are expert in building web application with Flask, and we know that Heroku has a free tier version to host web application written in python. Since we do not need to build a database in the back-end for such an application and the front-end is straightforward, this will be all we’ll need.

Writing your code
Now that we’ve agreed on the technical architecture of the web application, it’s time to write some code. We’re now going to look at each of the elements that have been used for this application :
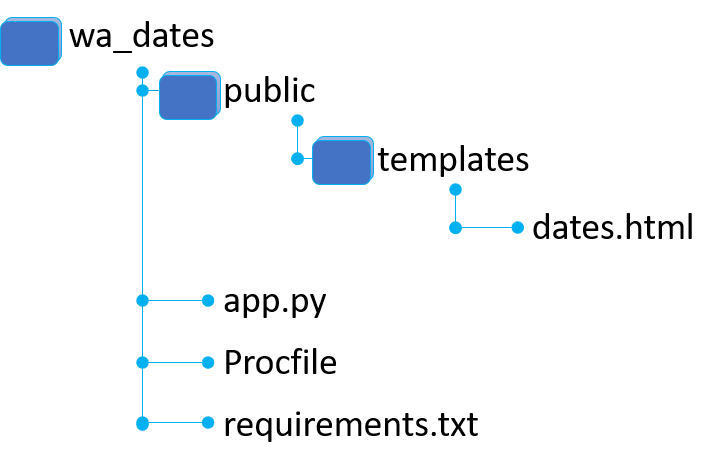
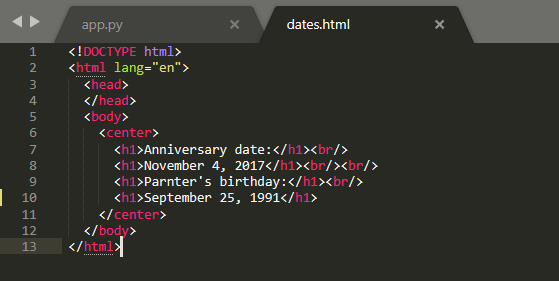
dates.html is the code we use to display the dates we described earlier.
app.py is the code we use to call dates.html in a flask application.
Procfile is used to tell Heroku to run the application as a flask application.
requirements.txt is the list of the libraries needed in order to run this application appropriately.
dates.html

Procfile
web gunicorn app: flask_app
requirements.txt
flask
gunicorn
Committing your application
In order to commit your application, you’ll need to create a repository on GitHub, open the Command Prompt (Terminal if you are using a Mac) and write the following lines:
When you refresh your newly created repository, you should see the following:

Deploy your application
Now we can deploy our application using Heroku by following these steps:
Create a new app.
Choose a name (must be approved by Heroku).
Connect to the GitHub repository you set up earlier.
Deploy master branch.
Wait a moment.

That's it! You now know how to deploy a simple web application and you no longer have an excuse to forget these important dates ;)
Want more information?
Please contact us at ask@simply-bi.com


Comentários